

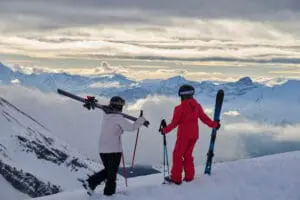
- Discover Snowsports
For over 120 years, the Ski Club has been sharing information, inspiration and advice to help everyone discover better skiing. And whilst the outfits and skiing technique have all changed in the past century, our aim since those early days of alpine skiing hasn’t. Explore the topics below to make this year’s trip the best ever!

New to Snowsports?
The place to begin if you are setting out on your snowsports journey. Find out where to go, what to expect, how to dress, and much much more, before your first snowsports trip.
Planning the Perfect Holiday
Where to go, when to go, skiing green and what to consider when creating the perfect winter adventure
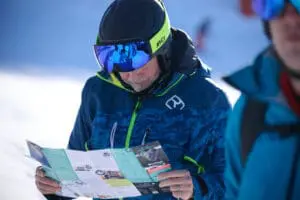
Staying Safe
From understanding a piste map to navigate avalanche terrain in the backcountry

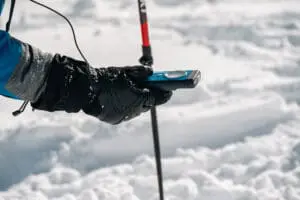
Travel
Get to the mountains quickly, easily, and sustainably with our travel guides
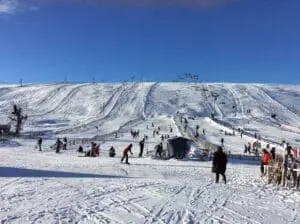
In the UK
Find out more about snowsports right here on our doorstep
Find a Resort
Explore the Ski Club’s resort listings, and filter by size, country and more …
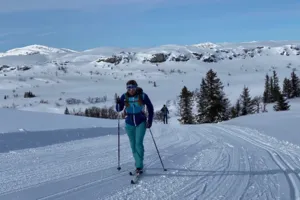
Our Cross-Country Skiing Guide
Everything you need to know to make a start with Cross-Country skiing!